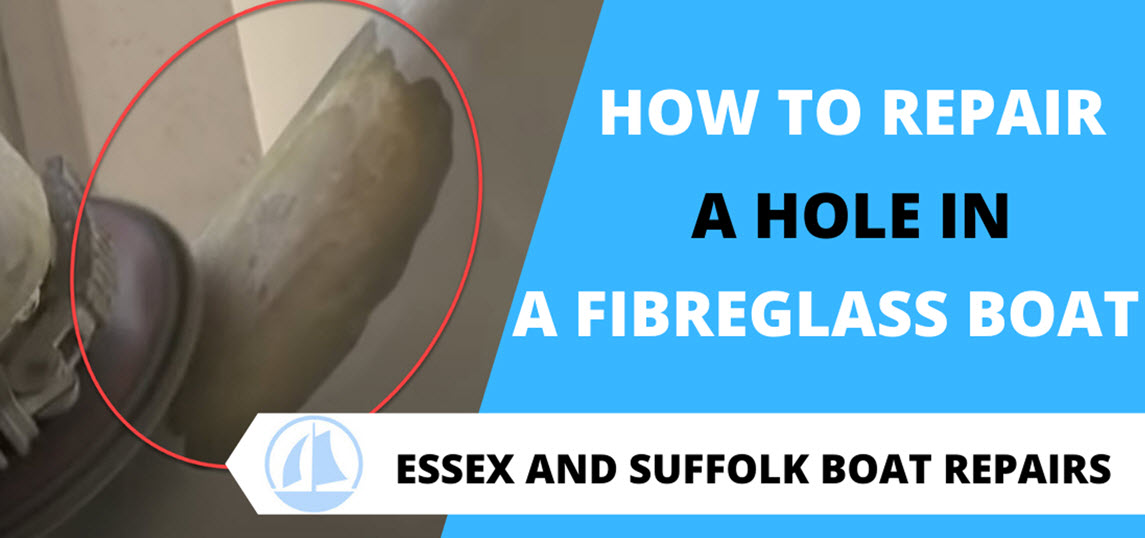
In todays post we’re going to show you exactly how to repair a hole in a fibreglass boat so you can carry out these types of repair just as the professionals do it.
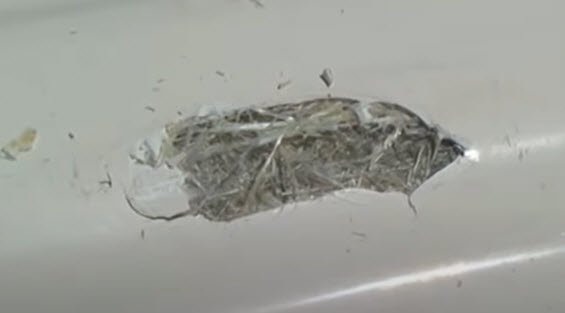
The type of hole we’re going to be dealing with today is one that hasn’t breached the entire laminate so we can use what remains as a base to build upon.
I’ll cover how we’d repair a hole that has gone all the way through the boat in a different post, as well as one that isn’t accessible from the inside.
But for now let’s crack on with todays subject. Obviously all necessary PPE needs to be observed.
Table of Contents
Surveying The Hole
Whenever I’m called to repair a hole in a fibreglass boat the first thing I do carefully inspect the area around the damage.
The reason I do this is because the impact that caused the hole can produce stress cracks around the immediate area and something that looks like a relatively small hole to repair can turn into a bigger job.
PRO TIP:
I use black paint sprayed onto an acetone cloth and wipe the entire area around the hole so it's covered in black paint.

That paint will seep into any cracks that are there. I then wipe the entire area with a clean cloth with acetone on it which will remove the black paint, but it will leave it in any cracks which makes them easily visible.
It’s Grinding Time!
Once I’m happy that any cracks have been highlighted through the gelcoat it’s time to get the grinder out.
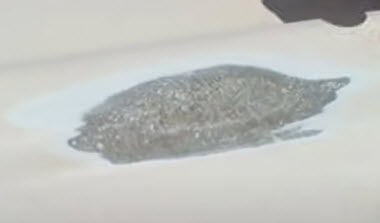
Using a 115mm angle grinder the area around the hole including any cracks is ground back, taking out any damaged fibreglass.


Damaged fibreglass will show white and when ground will usually easily fall away. The area needs to be chamfered from solid glass inwards to the hole.
So now you’re left with a nice clean area ready to take new glassfibre.
What Type Of Resin To Use?
When repairing fibreglass there are 3 types of resin available to use, but most people have only heard of either polyester or epoxy.
Epoxy is touted by many as the only resin to use for glassfibre repairs, I’m not one of those.
That’s not to say epoxy doesn’t have it’s place, but it’s used too much for repairs that don’t warrant it because of misinformation.
The majority of boats are made from polyester resin and on small to medium repairs using polyester to do the repair is totally adequate for the job.
If the damage is under the waterline I might use epoxy, but again the boat is probably polyester under the waterline so if done properly polyester would do, but to be on the safe side I would use the 3rd resin option: Vinyl ester.
Now you’ve probably not heard of Vinyl Ester, but it’s a hybrid resin that has the best of both worlds with the characteristics of polyester and epoxy and is a great resin to use.
I know epoxy won’t shrink as much as polyester and the bond is probably greater, but for the person doing it themselves trying to use epoxy can result in a repair that wouldn’t be as good as polyester anyway and getting polyester gelcoat to stick to epoxy can be a challenge.
If you’re worried about what resin to choose for your repair I would highly recommend Vinyl Ester as my choice.
Another thing to bear in mind is epoxy cannot be used with ‘normal’ chopped strand mat which uses an emulsion binder which dissolves in polyester resin, but not in epoxy.
If you were to use epoxy you’d need to use a powder bound chopped strand mat.
How To Laminate The Hole
Generally speaking chopped strand mat (CSM) will be adequate for most small jobs and the type of glass will have become apparent during the grinding process as will the types of resin.
The good thing about CSM is once consolidated it becomes a solid mass so the order in which the glass is laid down isn’t that important.
Some people like to lay the largest piece first and work inwards from there whereas I prefer to start with the smallest piece first and gradually get bigger until the whole area is covered.
Doing it that way I find the finished layer is flatter than if you were doing it the other way round, just my personal preference.
When it comes to prepping the glass I like to use a clear plastic bag laid over the repair area which is generally circular and mark out the largest and smallest part of the repair.
That is then transferred to the CSM and cut out. I will then cut out increasingly bigger circles or whatever the shape is until I reach the biggest cut out.

The size of the repair will determine how many layers of glass you’ll use. Putting too much down will result in the cured laminate needing a lot of grinding to get the repair flat again, too little and you’ll need to lay down more laminate.
Of course if the repair is on a dinghy the laminate will be a lot thinner than that of a 30 yacht. Horses for courses and all that.
Wetting Out
Once you have your chosen resin the next step is to add MEKP catalyst to it at a rate of between 1% – 2% by volume depending on how hot the weather is and the amount of glass you have to lay or if you are using epoxy the mix ratio as instructed on the containers.
PRO TIP:
When it comes to wetting out the glass the best way to do it is to use a 100mm nylon roller and a piece of cardboard, fairly thick, think crisp box thickness to wet the glass out on.
Most people will use a paint brush dipped in resin and brushed or dabbed on the glass and there’s nothing wrong with that. But there are a couple of reasons I don’t do this except for very small areas.
Using a roller distributes the resin much more evenly than a brush and you can coat both sides of the fibreglass without it falling apart especially with larger bit of fibreglass.
Whatever way you choose you’ll need to clean the repair area with an acetone cloth to ensure you get a good bond prior to any laminating.
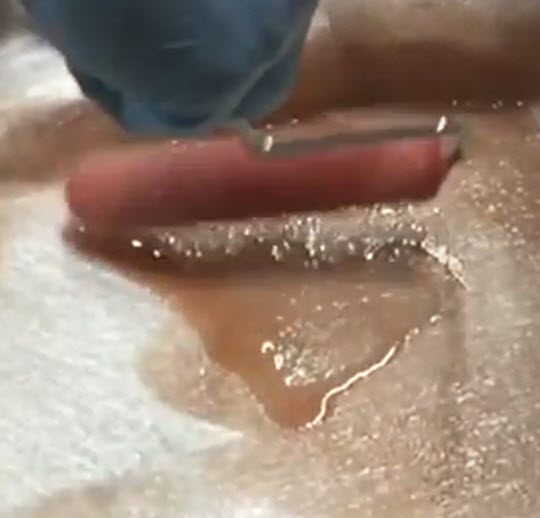
Start with pouring a small amount of catalysed resin or mixed epoxy onto the cardboard and load the roller enough to be able to wet the repair area.
Like I said I’ll start with the smallest piece of glass laying that on the cardboard and using the roller to wet it out, it then gets turned over and another roller of resin is put on this side.

Now, depending on how many layers there are I will either keep repeating this process with all the remaining pieces and then place the whole lot over the repair in one go or I’ll do it in stages.
Rolling, Rolling, Rolling!
Once the laminate is in place it’s time to consolidate it. Again, depending on the amount of laminate you will use a roller to push out any air and consolidate all the fibres either in one go or every few layers to ensure no air gets trapped.
The roller we use here isn’t the same as the one we use to wet out. The one I like to use and have found best over the years is a washer roller.
These come in many sizes and unlike paddle rollers they don’t produce a lot of splashing, but apart from that they just break down the CSM really, really well.
Checking For Fairness
Once the laminate has cured, I usually leave it a day, you’ll need to check it for fairness to the surrounding area. For smallish areas I’ve found that a steel rule is best whereas large areas I’ll use 4ft x 5″ x 4mm length of aluminium.
These tools will either conform to the curve of the boat or give you a nice straight edge by which to gauge any high spots or low spots.
The high spots will need to flattened and of course the low areas will need to be filled. If the laminating has been done right the low spots won’t be that bad and a skim of filler will do the job.
The filler I use is gelcoat mixed with colloidal silica which I mix to whatever consistency will do the job best.
Once you’re happy with the fairness, and I mean really happy, you’ll need to start thinking about the finishing process. The last thing you want is to cover the area with gelcoat and then find a high spot or a low spot once you flatten ready for polishing.
So just take a bit of time getting this stage right and it’ll pay dividends in the final process.
The next Step
For a step by step guide to applying and finishing the gelcoat please read this post here.
Hopefully this guide shown you how to repair a hole in a fibreglass boat and has given you the confidence to tackle this kind of repair.
If you have any questions about the process please ask below in the comment box and I’ll gladly help you out in any way I can
Alternatively if you’ve already tried the repair yourself and it hasn’t turned out the way you wanted and you’d like me to take a look at it for you simply click the button below and I’ll happily give you an estimate.
