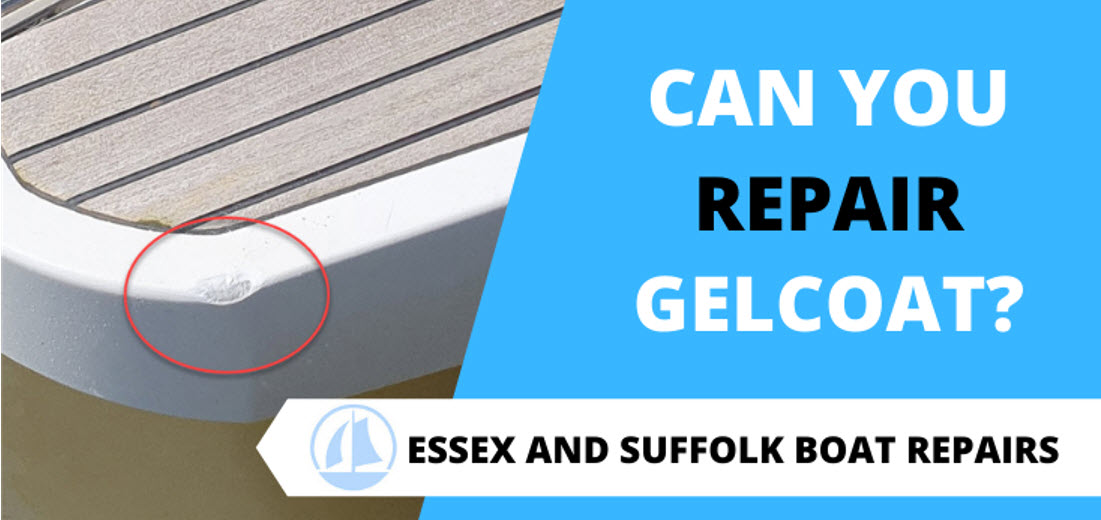
Gelcoat is the exterior protection on fibreglass boats and comes in many different colours, unfortunately as it’s the first line of defence it can become damaged. This damage can be anything from a simple scratch to more extensive damage like having actual chunks of gelcoat coming away from your boat, but can you repair gelcoat?
The good news is that gelcoat can be repaired and it can be a fairly simple process if you know what you’re doing which is where this post is going to help you out.
The example I’m going to use in this post is going to focus just on the gelcoat repair itself and not on any repair to the grp substrate. If you want to know how to repair fibreglass first you should read this step by step guide here.
Like most things in life there are various ways to accomplish the same outcome, I have tried numerous ways over the course of my many years of experience and while the process in some repairs can be shortened I invariably always do gelcoat repairs the way I’m going to tell you.
After all I’m running a business and don’t want to be doing more work than necessary by re-doing sub-standard repairs.
Table of Contents
The Repair
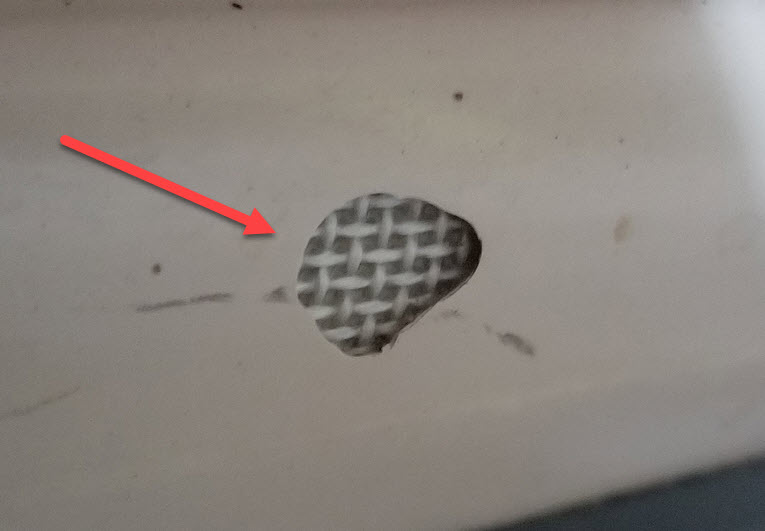
The example I’m going to be working with is a void just under the gelcoat, it’s caused by the fibreglass laminate not being completely rolled out properly. This is a type of repair I see a lot of and I carry out a lot of warranty work because of it.
When the area of void is hit and it doesn’t have be a hard hit, the gelcoat will break like an eggshell and expose the laminate underneath.
We are only going to be working with a small area, say 1″ by 1″. To start with I’m going to let you know how not to do it.
The overwhelming urge is to fill the void with gelcoat and stick a bit of tape over it to hold it in place until it cures.
The problems with doing the repair like that are that when you come to flatten down the repair which you’re going to need to do, you stand a good chance of having tiny air bubbles in the gelcoat that will stand out like a sore thumb especially once you get a bit of dirt in the tiny holes.
Not to mention the repair actually falling out at some stage.
The Right Process
The process I have found works best is as follows. The area first needs to be abraded using a small router bit in something like a dremel.
Once that is done it then needs to be wiped down with acetone to ensure there is no dust in the repair area.
The next part of the process is to fill the offending area with a filler, I use gelcoat mixed with Cabosil to thicken up the gelcoat into a paste.
Do not be tempted to use car body filler!
Once that has hardened it has to be flattened so that it’s level with the surrounding sound gelcoat which also has to be keyed up with 320 paper.
Putting On The Gelcoat
So you are now at the stage where you’re in a position to start gelling. Before you do that though give the whole area a good dust down with a clean brush.
What you want to do now is mix up a small amount of your gelcoat in a paper cup with the right amount of catalyst, I use MEKP which stands for Methyl Ethyl Ketone Peroxide
Take a 1″ brush and brush on just enough gelcoat to cover the filler and just on to the surrounding gelcoat.
Don’t try and put too much on at once, you want to keep the shape as much as possible.
Once that coat has had enough time to dry you will mix up another cup of catalysed gelcoat and apply that over what you’ve already put on, but this time extending it out further.
I will point out at this stage that I don’t generally mix up separate cups, I will use a heat gun to warm up each coat so I can get the gelcoat on without the risk of contamination from bits blowing onto it from the wind or crawling insects that tend to make a bee line for wet gelcoat.
Even people have a tendency to stick their fingers in wet gelcoat just to see if it’s dry!
The next coat you mix up will have an extra ingredient, a wax solution in styrene. This is to make sure the gelcoat doesn’t stay sticky!
I won’t heat gun this waxy coat because if you heat it up too much you run the risk of burning off the wax solution.
This last waxy coat goes over the 2 coats you’ve already put on, again extending it further. So you end up with 3 staggered coats of gelcoat. You’ll see why we put 3 coats on in the next section.
As I’ve already said you don’t want to put too much gelcoat on in one go, that can result in the gelcoat sagging and keeping it as flat as possible is our aim.
It’s Flattening Time!
So you’ve probably been reading this and asking yourself why on earth is he telling us to put 3 coats of gelcoat on, won’t that create a lump?
No, because you stagger and feather out each coat so the gelled area is larger than the repair you won’t have a problem.
The problem arises when people try and keep the repair area as close to the actual repair as they can which then results in a bump on the surface.
The other reason for having a larger repair area than you think you need is because you’re much more unlikely to rub through then if you have just enough gelcoat to cover the repair.
So, once the 3 coats having fully cured ( I generally leave it until the next day) you will be flattening it down.
I use some black spray on a rag with acetone on it and rub that over the gelcoat. That will give me a guide for rubbing down.
For an area this small I would use wet and dry paper starting off with a 400 grit. The trick here is to use a block.
This will keep the surface nice and flat as you rub it down. I’ve seen people, even professionals, use a DA sander right off the bat and the results are horrendous.
Yes the repair will be smooth if you haven’t gone thin, but it won’t be flat and that’s the key to a good looking repair.
I can’t emphasize enough the need to use a block, if you just use your hands you’ll end up with ridges and bumps all over.
So you need to use a block with your 400 grit wet and dry wrapped around it and with it wet and kept flat against the repair start rubbing.
You will see the black spray start to disappear as you work. You need to go past the repair onto the existing gelcoat .
Now this might seem counter intuitive but it’s imperative you do it to ensure a flat finish. Once you’ve taken off most of the black colour you need to reapply another coat of black spray.
This will go into the 400 grit scratches you’ve put in with the 400 wet and dry and highlight them so you can move onto the next step in the rubbing down process
Now take some 800 wet and dry and go over the same process until all the black spray disappears and once it does you can be sure it’s flat and all the major scratches are gone ready for polishing.
Polishing Your Repair
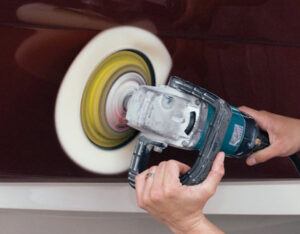
So at this point you’ve got 800 grit scratches in your repair area which need to be taken out. To do this you really need to use a machine polisher to get the best result. You can pick up a half decent these days for a very reasonable price and I would highly recommend you get one.
The ones you get from the local garage and plug into a cigarette lighter just won’t cut it I’m afraid.
I typically start off the polishing process with a 1000 compound with a #1 buffing pad. I use a brush to apply the compound over the entire area and start the polishing process. ( I’ll do a detailed polishing process in another post)
To finish I’ll use a 2000 compound and polish with a #2 buffing pad which will remove the 1000 compound scratches and give the surface a really nice shine.
I’ll usually finish off with a wax to seal the surface and jobs a good un.
Chances are you’ve probably never heard of doing gelcoat repairs like this, but this is how the trade does them even when a boat comes out of the mould in the manufacturing shop, if it has gelcoat defects, which most do, this is how they are repaired which is why you won’t notice that your brand spanking new boat has been repaired before it’s even left the factory.
Hopefully this post has helped you in some way if it has I’d love you to leave a comment below or even if you just have a question for your next grp project I’ll do my best to answer it for you.
Alternatively if you’ve already tried the repair yourself and it hasn’t turned out the way you wanted simply click the button below and I’ll happily give you an estimate.